
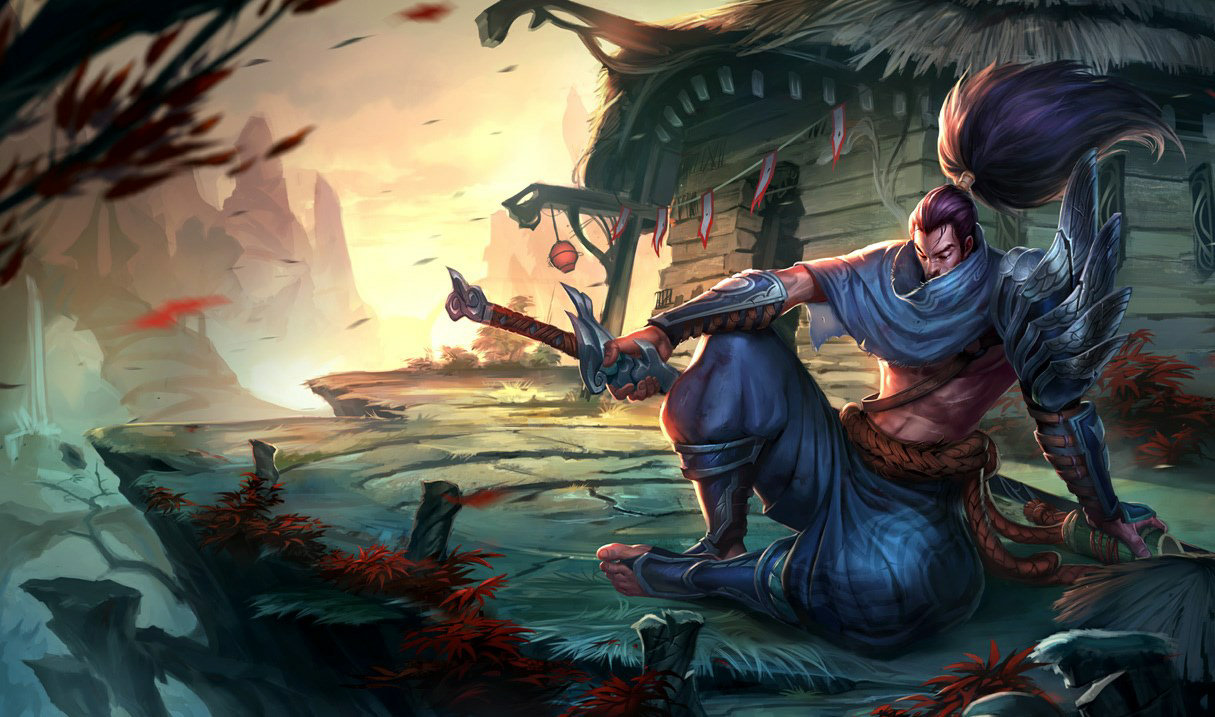


야스오 (TOP) (Yasuo)
[야스오 (TOP) vs 주요 상대] 스킬 쿨타임의 빈틈 · 모범 교환 · 1초 판단 규칙
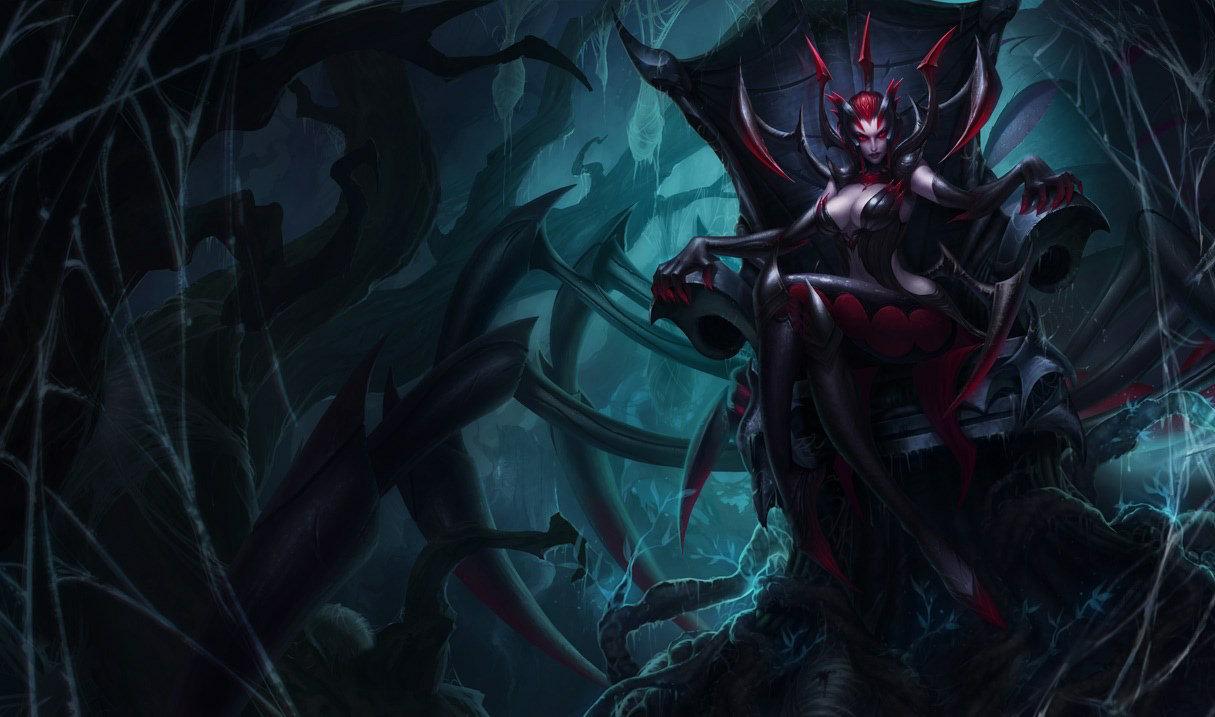

야스오 (TOP)vs엘리스
02:24, fighting lane opponent Elise in the top lane (Lv2 vs Lv2, gold difference +35G)
bro's Yasuo killed Elise with no ally assists (first blood), earning 400G; no death within 10s after the kill.
Elise's side: conceded a solo kill to Yasuo at Lv2 vs Lv2 with a -35G gold difference


야스오 (TOP)vs질리언
02:26, fighting lane opponent Zilean in the top lane (Lv2 vs Lv2, gold difference +74G)
bro's Yasuo killed Zilean with no ally assists, earning 300G; no death within 10s after the kill.
Zilean's side: conceded a solo kill to Yasuo at Lv2 vs Lv2 with a -74G gold difference
[야스오 (TOP)] 벤치마크 OTP별 첫 템 · 코어 완성 타이밍 · 룬 통계 보기
View authentic 0-90s starter buys, exact core power spike minutes, and situational rune setups directly from authentic Challenger OTP logs in the dedicated OTP Builds database.
Yasuo Kit Specifications & Tactical Strategy Guide
- Target Champion: Yasuo (The Unhonored)
- Primary Role: MID / TOP / BOT
- Benchmark Patch: 26.20+ / Season 14-16 (Current Active Specifications)
- Reference OTP: BROHAN (EUW Challenger / Peak 4120LP / Elite European & Global Yasuo/Yone Two-Trick Master / Twitch: brohan / In-game: bro#han)
Kit Specifications & Physical Parameters
① Passive: Way of the Wanderer
- Resolve (Flow Shield):
- Moving generates Flow (Maximum: 100 \sim 530 based on level).
- When Flow is full, taking damage from an enemy champion or monster consumes all Flow to automatically deploy a 1-second shield.
- [Core Specification & Prime Directive] Short Trade Initiative: The basic laning pattern is to absorb enemy poke unilaterally with the 1-second shield while executing E-Q-AA, then dash through a minion with E to disengage before the shield expires.
- Intent (Critical Strike Doubling):
- All critical strike chance gained from items and runes is amplified by 2.5x (250%) (guaranteeing 100% crit with 2 items).
- As a trade-off, critical strike damage is reduced from the base 175\% to 157.5\% (can be mitigated by purchasing Infinity Edge).
② Q: Steel Tempest
- Range: 450 (Thrust) / 900 (Tornado/Whirlwind)
- CD Formula & AS Scaling:
- Base cooldown is 4.0 seconds. Cooldown and cast time are reduced by Bonus Attack Speed.
- CD Cap: Reaches the minimum of 1.33 seconds at +111.4% Bonus Attack Speed.
- Cast Time Cap: Reduced from 0.40 seconds down to 0.133 seconds.
- Gathering Storm (Whirlwind Stack Management):
- Grants a stack on hit (Duration: 6 seconds).
- Accumulating 2 stacks transforms the 3rd attack into a Whirlwind, Knocking Up all enemies hit for 0.75 seconds.
- E-Q Combo (Sweeping Spin):
- Casting Q during an E dash transforms the thrust into an Omnidirectional Circular Slash affecting all targets within 375 units. The knockdown tornado also applies in an omnidirectional area of effect around Yasuo.
③ W: Wind Wall
- Range: 400 (Wall Width: 300 / 350 / 400 / 450 / 500 units)
- Duration: 3.75 seconds / Cooldown: 25 / 23 / 21 / 19 / 17 seconds
- [Core Hitbox Boundary] 0-Frame Activation & Projectile Annihilation:
- The wall spawns slightly in front of Yasuo's body axis and expands forward as it deploys. Because the hitbox is generated from Yasuo's back to the front the exact moment the activation key is pressed, even point-blank projectiles can be negated at 0F.
- Examples of skills that can be negated:
- Twisted Fate W Gold Card, Ahri E Charm, Syndra E Knockback Sphere, Ezreal/Jinx/Draven all skills and basic attacks, Ornn R charging ram, Nami R tidal wave.
- Examples of skills that cannot be negated:
- Laser and piercing type hitboxes (Lux R, Vel'koz R, Senna Q/Basic Attack, Viktor E).
- [Wall Dancing Technique]:
- Beyond simply placing the wall between yourself and the enemy, positioning Yasuo directly on top of the wall and using E or steps to weave back and forth across the front and back of the wall depending on the enemy's line of fire completely neutralizes ranged champion AAs and targeted abilities.
④ E: Sweeping Blade
- Range: 475 (Fixed dash to a set distance behind the target)
- Fixed Movement Speed: 750 + 60\% \text{ Movement Speed (MS)}
- Skill CD: 0.5 / 0.4 / 0.3 / 0.2 / 0.1 seconds
- On-Target Lockout:
- Cannot be re-cast on the same target for 10 / 9 / 8 / 7 / 6 seconds. A white circle gauge displays under their feet.
- Damage Stacking Chain:
- Each use of E increases the damage of the next E by +25\% (Maximum 2 stacks = +50\% increase).
- [3D Advanced Techniques]:
- Beyblade (E-Q-Flash): Input Q3 (Tornado) during E, and Flash right at the end of the dash directly into the enemy's feet. Generates an inescapable guaranteed knockup with zero reaction window.
- Airblade (Q3 Knockup -> E-Q -> R): Immediately after launching an enemy with the tornado, input E-Q on a nearby minion or enemy while instantly pressing R. The E-Q circular slash damage and stacks are transferred to R's landing location, maximizing burst.
- Keyblade: The ultimate multi-step combo combining Beyblade (E-Q-Flash) with an intervening AA, followed by Airblade (E-Q-R).
⑤ R: Last Breath
- Range: 1400 (Limited to enemy champions currently airborne)
- Crowd Control Duration: Suspends the target in the air for an additional 1.25 seconds while dealing physical damage.
- [Bonus Passive Effect]:
- Instantly fills Flow to maximum upon activation (redeploying the Flow Shield).
- Grants 50% Bonus Armor Penetration on critical strikes for 15 seconds after activation, shredding the defenses of tanks and bruisers.
- [Tower Safe Positioning Boundary]:
- If an enemy is knocked up near the edge of tower range, activating R applies a priority system that automatically teleports Yasuo to a safe coordinate outside the tower attack range while maintaining the suspension.
BROHAN's Masterclass: Definitive Runes, Builds & Skill Order
① Rune Setups
- Vs. Melee & Extended Fights (Standard / Challenger Core):
- Primary: Precision
- Conqueror or Lethal Tempo
- Triumph
- Legend: Alacrity
- Last Stand
- Secondary: Resolve
- Second Wind or Bone Plating (vs. Renekton/Pantheon)
- Overgrowth or Unflinching
- Stat Shards: +10% Attack Speed / +9 Adaptive Force / +65-140 Health
- Vs. Long-Range Poke Mages (Heavy Poke Tech):
- Primary: Precision: Fleet Footwork
- Secondary: Resolve: Second Wind + Revitalize
- Start Doran's Shield to convert incoming damage into HP sustain.
② Item Build Path
- Starting Items: Doran's Blade + Health Potion or Doran's Shield (vs. Poke)
- 1st Recall: Berserker's Greaves - Minimizes Q cooldown to 1.33 seconds ASAP.
- 1st Core:
- Blade of the Ruined King: Vs. Tanks/HP stackers, strongest for 1v1 side-lane duels.
- Or Kraken Slayer: Vs. Squishy burst targets.
- 2nd Core:
- Phantom Dancer: +12% MS, Ghost effect, ultra-fast wall dancing via increased AS.
- 3rd Core:
- Infinity Edge: Massive power spike via heavily enhanced critical strike damage.
- 4th / 5th Core (Situational):
- Death's Dance (Vs. AD Burst)
- Immortal Shieldbow (Lifeline Shield)
- Maw of Malmortius (Vs. Heavy AP)
- Guardian Angel
③ Skill Priority Order
- Lv 1: Q (Steel Tempest)
- Lv 2: E (Sweeping Blade) - Lv 2 First Blood kill window utilizing minion waves.
- Lv 3: W (Wind Wall) or a second point in Q depending on the matchup.
- Max Order: R > Q > E > W
최근 '야스오 (TOP)' 경기를 Brohan (브로한)의 실전 기준으로 AI 채점해 보시겠어요?
Riot ID만 입력하면 공식 API의 타임라인 좌표로부터 '왜 그 데스가 일어났는지', 'OTP라면 어떻게 움직였을지'를 자동으로 카르테로 정리합니다.
지식 신선도 유지 & 커뮤니티 신고 (야스오 (TOP))
'이 정보는 패치로 바뀌었다', '새로운 OTP 테크닉이 있다' 등의 의견을 보내 주세요. 커뮤니티의 노하우로 지식을 항상 최신으로 유지합니다.
커뮤니티 검증 · 신선도 업데이트 로그
위 양식으로 첫 피드백을 보내 OTP 독트린의 신선도 유지에 협력해 주세요.