
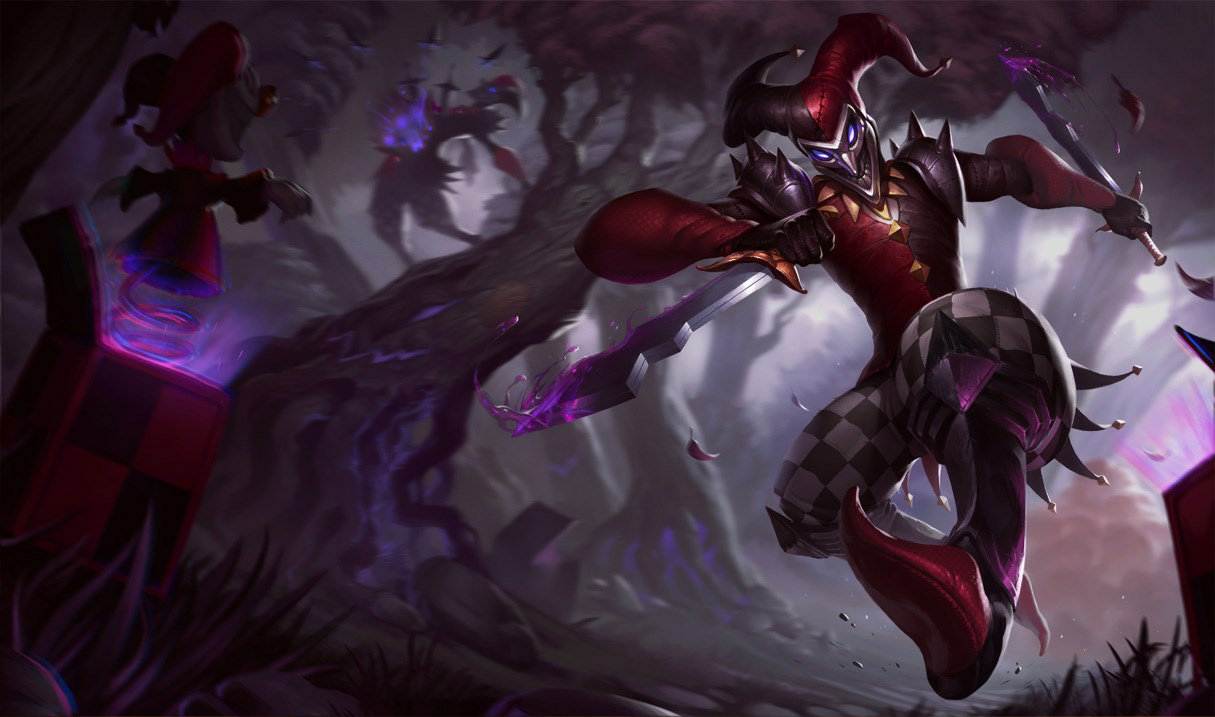


AP 샤코 (Shaco)
[AP 샤코 vs 주요 상대] 스킬 쿨타임의 빈틈 · 모범 교환 · 1초 판단 규칙


AP 샤코vs초가스
09:49, fighting lane opponent Chogath in the bot lane (Lv8 vs Lv7, gold difference +1402G)
Zefath's Shaco killed Chogath with no ally assists, earning 265G; no death within 10s after the kill.
Chogath's side: conceded a solo kill to Shaco at Lv8 vs Lv7 with a -1402G gold difference


AP 샤코vsKarthus (Bot)
22:18, fighting lane opponent Karthus in the jungle (Lv14 vs Lv15, gold difference +914G)
Zefath's Shaco killed Karthus with no ally assists, earning 1028G; no death within 10s after the kill.
Karthus's side: conceded a solo kill to Shaco at Lv14 vs Lv15 with a -914G gold difference


AP 샤코vs녹턴
04:02, fighting lane opponent Nocturne in the mid lane (Lv4 vs Lv4, gold difference +506G)
Zefath's Shaco killed Nocturne with no ally assists, earning 300G; no death within 10s after the kill.
Nocturne's side: conceded a solo kill to Shaco at Lv4 vs Lv4 with a -506G gold difference

AP 샤코vs헤카림
21:39, fighting lane opponent Hecarim in the top lane (Lv12 vs Lv15, gold difference -4098G)
Zefath's Shaco killed Hecarim with no ally assists, earning 500G; died within 10s after the kill.
Hecarim's side: conceded a solo kill to Shaco at Lv12 vs Lv15 with a +4098G gold difference


AP 샤코vsEkko (Mid)
11:55, fighting lane opponent Ekko in the jungle (Lv9 vs Lv8, gold difference +306G)
Zefath's Shaco killed Ekko with no ally assists, earning 672G; no death within 10s after the kill.
Ekko's side: conceded a solo kill to Shaco at Lv9 vs Lv8 with a -306G gold difference


AP 샤코vs아이번
15:46, fighting lane opponent Ivern in the river (Lv11 vs Lv8, gold difference +2407G)
Zefath's Shaco killed Ivern with no ally assists, earning 291G; no death within 10s after the kill.
Ivern's side: conceded a solo kill to Shaco at Lv11 vs Lv8 with a -2407G gold difference


AP 샤코vs키아나
18:31, fighting lane opponent Qiyana in the jungle (Lv11 vs Lv11, gold difference -222G)
Zefath's Shaco killed Qiyana with no ally assists, earning 350G; no death within 10s after the kill.
Qiyana's side: conceded a solo kill to Shaco at Lv11 vs Lv11 with a +222G gold difference

AP 샤코vs케인
08:48, fighting lane opponent Kayn in the top lane (Lv6 vs Lv6, gold difference -1263G)
Zefath's Shaco killed Kayn with no ally assists, earning 681G; no death within 10s after the kill.
Kayn's side: conceded a solo kill to Shaco at Lv6 vs Lv6 with a +1263G gold difference
[AP 샤코] 벤치마크 OTP별 첫 템 · 코어 완성 타이밍 · 룬 통계 보기
View authentic 0-90s starter buys, exact core power spike minutes, and situational rune setups directly from authentic Challenger OTP logs in the dedicated OTP Builds database.
AP Shaco Jungle Master Strategy Guide (Zefath Benchmark)
Source Benchmark: Zefath (EUW Grandmaster 2235 LP One-Trick Pony)
Target Role: Jungle (AP Zone Control & Psychological Macro)
Key Skills & Mechanics: Passive (Backstab), Q (Deceive), W (Jack in the Box), E (Two-Shiv Poison), R (Hallucinate)
Core Philosophy: AD Assassin vs. AP Zone Control
| Parameter | AD Assassin Shaco | AP Zone Control Shaco (Zefath) |
|---|---|---|
| Primary Identity | Early single-target burst assassin | High-macro zone denial & psychological baiter |
| Scaling Curve | Peaks at 10-20 min; falls off heavily late | Scales exceptionally into mid/late 5v5 teamfights |
| Teamfight Role | Flanks enemy ADC; dies if caught | Seeds chokepoint webs; controls neutral pits; 1v9 bait |
| Ultimate Usage | Extra AA damage and Hail of Blades proc | Multi-target AoE fear bomb, fog scout & camp leasher |
| Key Win Condition | Snowballing early kills before grouping | Dominating neutral objectives via 30s pre-setup webs |
Deterministic Ability Specifications & Physical Parameters
W - Jack in the Box
- Arming Time: 2.0 seconds from placement until stealth and activation readiness.
- Trigger Radius: 300 units.
- Fear Duration: 0.5s to 1.5s (scales with ability rank).
- AP Scaling Duration: AP increases box lifetime significantly (e.g. Rabadon's Deathcap grants +20〜25s active box duration).
- Placement Cooldown: Key CDR breakpoint is ~40-50 Ability Haste (Ionian Boots + Fated Ashes/Liandry's), enabling 2-3 boxes per zone contest.
R - Hallucinate
- Duration: 18 seconds max.
- Tether Snap Radius: ~1125 units from real Shaco. When exceeded, the clone snaps across terrain to Shaco's current coordinates.
- Death Burst Damage: 150/225/300 (+70% AP) magic damage in a large AoE, instantly spawning 3 mini-boxes with simultaneous 1.0s fear.
- Spawn Positioning Logic: R grants 0.5s untargetability. Real Shaco spawns based on cursor direction; clone spawns opposite.
Early Game Phase: Pathing, Clears & Invade Defense
1. The 3-Box Raptor Solo Clear & Anti-Invade Wolf Start
- Standard Raptor Start: Place first box at 00:50, second at 01:06, third at 01:22 directly in the Raptor camp center. Solo clearing Raptors instantly hits Level 2 at 01:33 with 100% HP.
- Anti-Invade Wolves Start Variation: When facing high-probability Level 1 invade compositions (Pyke, Blitzcrank, Qiyana), Zefath switches to a 3-Box Wolves Start at 00:50. Recessed deeper inside the quadrant, enemy river invades cannot disrupt your setup without overextending past tier-1 vision.
- Blue-Side Defense Philosophy: Do not waste boxes defending your opposite buff at 00:50. Concentrating all 3 boxes on your starting camp guarantees clear tempo.
2. Anti-Invade Box Kiting
- When invaded on camp spawn (e.g., Aatrox, Briar, Lee Sin):
- Never panic or flash away into an unwarded river.
- Kite backwards in a straight line through your primed box perimeter.
- The moment the invader takes box aggro, the 300-radius Fear triggers, giving you guaranteed Smite advantage or safe disengage.
3. Krugs Smite Priority Rule
- Smite is most efficiently expended on Ancient Krug (Big Krug) combined with a W placement and E throw. This cancels Krug split animation delay and maximizes full-clear tempo.
Mid Game: Objective Control & Triangle Trap Web Geometry
1. The "30-Second Pre-Setup Rule"
- AP Shaco's combat effectiveness drops by 70% if arriving at an objective 5 seconds before spawn.
- Mandatory Reset: Recall at T - 40s before Dragon / Voidgrubs / Baron.
- Trap Line Seeding: Arrive at T - 25s and place 2 to 3 boxes in the primary chokepoints leading from the enemy base into the river.
2. The Triangle Trap Web Doctrine (Countering Oracle Lens Sweepers)
- Why Stacking Fails: Placing 2–3 boxes within < 350 units allows a single enemy Oracle Lens (Sweeper, 600–750 radius) to reveal and disarm all traps simultaneously, while overlapping Fear triggers waste CC duration.
- Optimal Spacing Ring (450 ~ 850 Units):
- Place Box 1 at the chokepoint apex. Place Box 2 and Box 3 450 ~ 850 units away, forming an equilateral or isosceles Triangle:
- Apex Box: Intercepts the forward enemy vanguard.
- Flank Box: Covers sidesteps and wall-hugging paths.
- Anchor Box: Funnels enemies chasing after sweeper expiration into a second sequential Fear + Imperial Mandate proc.
3. Baron Pit Positioning: Inside vs. Behind
- The Zefath Rule: *"You don't have to stand behind Baron, you stand inside."*
- Position real Shaco directly inside the Baron hitbox model:
- Guarantees 100% Backstab passive uptime on basic attacks and E.
- Eliminates Baron knockback collision.
- Lets clone face Baron directly to absorb basic attacks.
High-Elo Clone Micro-Control & Psychological Tactics
1. Psychological Spawn Inversion
- The Core Trick: When casting R in a skirmish, spawn real Shaco forward toward enemies and clone backward toward safety (friendly brush/tower).
- Human Psychology: Opponents assume the retreating champion is real. They commit key cooldowns onto the fleeing clone, triggering the explosion fear.
2. Clone Tether Wall Teleportation
- Exploit the ~1125 unit tether snap mechanic:
- Leave clone fighting Dragon or Baron while real Shaco walks over the back wall toward Blue buff.
- As Dragon dies, the clone snaps across the wall onto the Blue buff, applying damage with zero travel delay.
3. Instant Detonation Ambush
- Monitor the clone's 18-second duration timer.
- At 16.5 seconds, drive the clone out of fog directly into the enemy backline. The clone expires and explodes automatically upon arrival, dealing undodgeable AP burst damage.
Itemization, Runes & Skill Priority (Zefath Signature Build)
Core Build Path (AP Zone Control)
- Starting Item: Gustwalker (Blue Pet) + Health Potion
- Early Rush: Fated Ashes + Dark Seal + Ionian Boots of Lucidity (91.4% pick rate)
- First Core: Blackfire Torch (97.1% pick rate)
- Unlocks mana sustain, Ability Haste, and burn damage to maximize box setup frequency.
- Second Core: Imperial Mandate (85.7% pick rate)
- Extremely cheap at 2200G. Applies marks on any enemy hit by box fear, E slow, or clone explosion, granting huge ally damage and move speed.
- Third Core: Liandry's Torment (74.3% pick rate)
- Stacks double burn with Blackfire Torch, melting 30-40% enemy HP per trap trigger.
- Situational: Morellonomicon, Cryptbloom, Rabadon's Deathcap.
Rune Setup
- Primary (Sorcery): Arcane Comet / Manaflow Band / Transcendence / Gathering Storm
- Secondary (Inspiration): Magical Footwear + Cosmic Insight
- Shards: Adaptive Force (+9 AP) / Adaptive Force (+9 AP) / Scaling Health (+10-180)
Summoner Spells
- Smite + Ignite (100% pick rate) *[The Absolute Shaco Law]*
- Deceive (Q) provides built-in blink and stealth. Flash is discarded in favor of Ignite to maximize early invade duel dominance.
최근 'AP 샤코' 경기를 Zefath의 실전 기준으로 AI 채점해 보시겠어요?
Riot ID만 입력하면 공식 API의 타임라인 좌표로부터 '왜 그 데스가 일어났는지', 'OTP라면 어떻게 움직였을지'를 자동으로 카르테로 정리합니다.
지식 신선도 유지 & 커뮤니티 신고 (AP 샤코)
'이 정보는 패치로 바뀌었다', '새로운 OTP 테크닉이 있다' 등의 의견을 보내 주세요. 커뮤니티의 노하우로 지식을 항상 최신으로 유지합니다.
커뮤니티 검증 · 신선도 업데이트 로그
위 양식으로 첫 피드백을 보내 OTP 독트린의 신선도 유지에 협력해 주세요.