



Malzahar (Malzahar)
Malzahar vs Primary Opponents: Cooldown Windows & 1-Sec Decisions
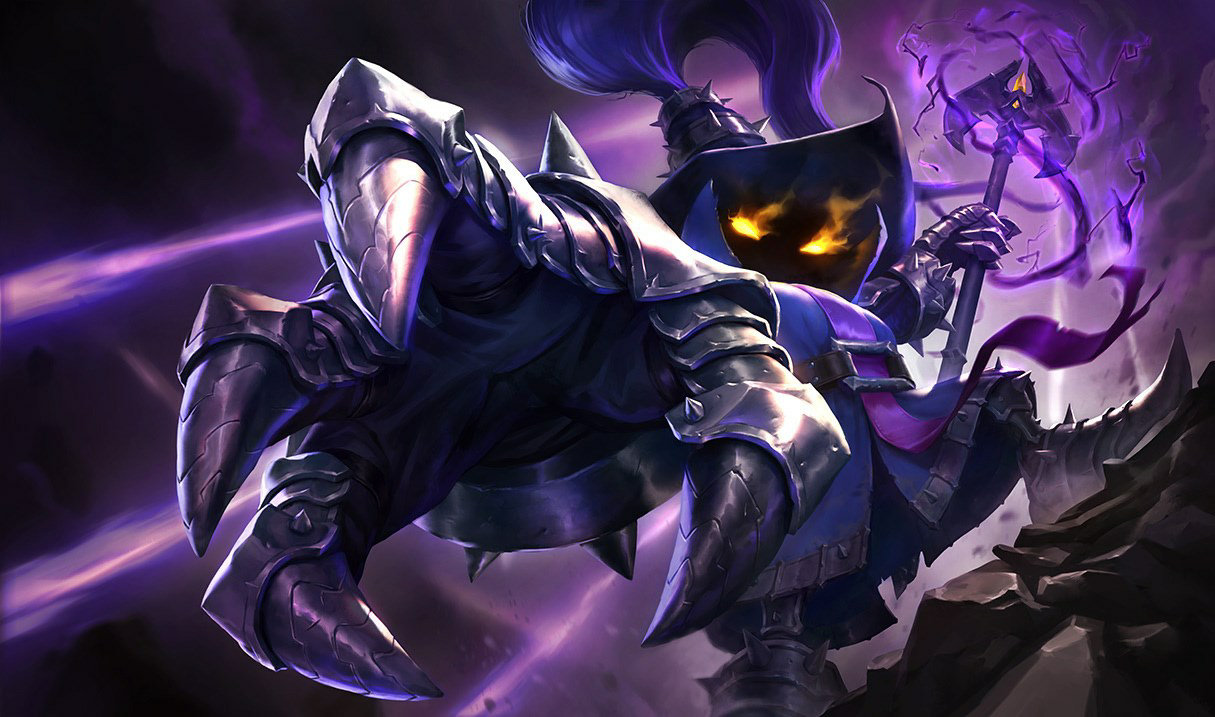

MalzaharvsVeigar
In the very early game (Lv 1-2) against Veigar, spot enemy JG movements with the opening ward, and capitalize on Veigar's low early push power (Challenger voice comms: "My ward was useful", "Against Veigar, this is Lv 2 W. We can kill him")
After contributing to First Blood with an opening ward in the river/enemy jungle entrance, take W (Void Swarm) instead of Q at Lv 2 against Veigar who has slow early AoE clear, use E+W to shove the wave instantly, and pin Veigar under tower to CS
Taking Q at Lv 2 against Veigar and farming mindlessly, allowing him to stack Q for free

MalzaharvsZed
Vs. Zed (11:07), the exact moment Zed lands right after engaging with W (Living Shadow) or R (Death Mark)
Immediately unleash E + W + R (Realm of Death) the moment Zed's W is on cooldown or when he lands behind you with R, completely locking down his shadow swap for 2.5 seconds to secure a solo kill
Casting R first from max range while Zed still has all his W and R charges available, allowing him to create distance with a shadow swap or dodge it with R
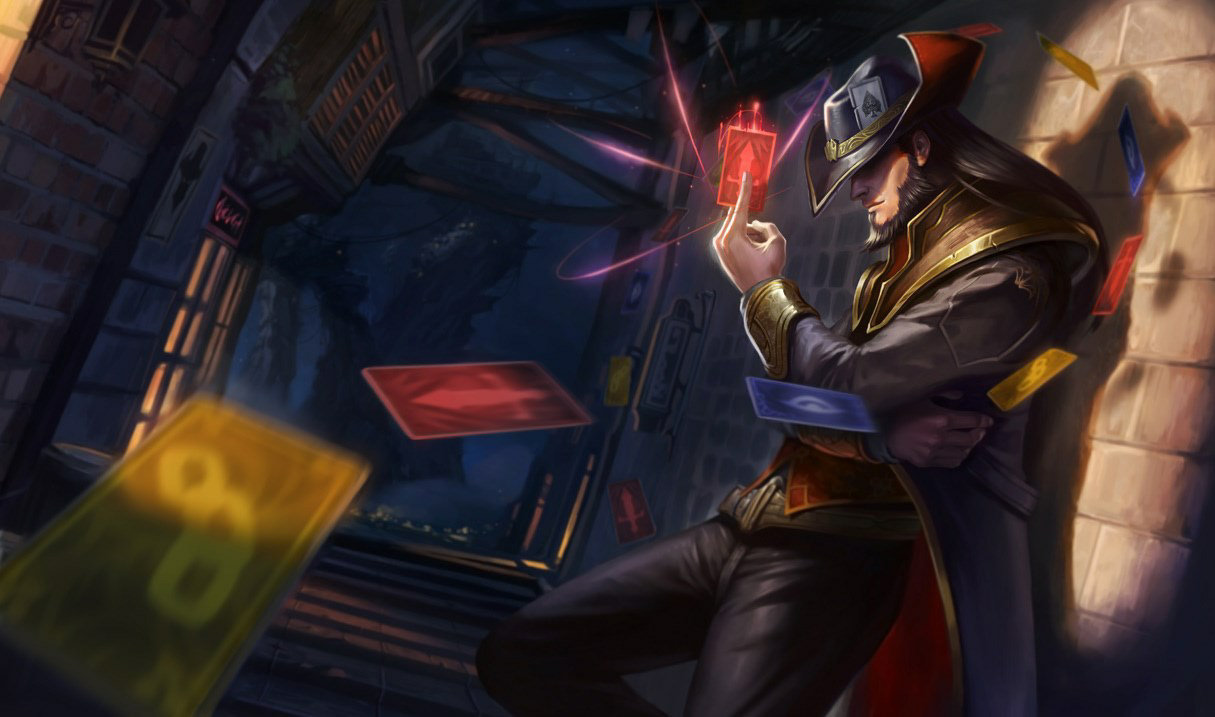

MalzaharvsTwisted Fate
Matchup against Twisted Fate (Challenger voice line: "Let's pretend we backed"), when your jungler is approaching or when the enemy steps up to push.
Step back toward the rear brush and "pretend to recall" (wait out of vision) to lure TF forward, then the moment TF steps up to push the wave, use E + W + R (Nether Grasp) to lock him down for 2.5 seconds and secure the 524G kill together with your jungler.
Walking blatantly forward while your jungler is nearby, raising suspicion and allowing TF to create distance with Gold Card and escape.
View authentic core spike timings, starter buys & runes for Malzahar
View authentic 0-90s starter buys, exact core power spike minutes, and situational rune setups directly from authentic Challenger OTP logs in the dedicated OTP Builds database.
Malzahar Kit Specifications & Tactical Strategy Guide
- Target Champion: Malzahar (The Prophet of the Void)
- Primary Role: MID (Mage / Control Mage)
- Baseline Patch: 14.1+ (Current Season Confirmed Specs)
- Reference OTP: マルチャレ (Riot ID: 준이는곧휴가철#KR123)
Kit Specifications & Physical Parameters
① Passive: Void Shift
- Effect: Taking damage or crowd control (CC) deploys a defensive shield that reduces damage taken by 90% and completely blocks CC. Lasts for 0.25 seconds after the effect ends.
- Cooldown: Decreases based on level (Lv 1: 30s / Lv 6: 24s / Lv 11: 18s / Lv 16: 12s).
- CD Reset Mechanic: Taking damage from enemy champions, towers, or epic monsters immediately resets the cooldown counter (returns to full remaining duration).
- Laning Principles:
- Manage spacing outside the enemy's attack range so the shield is not wasted on minion ranged attacks or low-cost enemy basic attacks.
- While the shield is active, you can completely absorb one key enemy threat (LeBlanc chains, Ekko stun, Yone knockup, hooks, etc.), enabling aggressive minion wave crashes.
② Q: Call of the Void
- Range: 900 / Cast Delay: 0.4 seconds
- Damage: 70 / 105 / 140 / 175 / 210 \; (+55\% \text{ AP}) magic damage
- Silence Duration: 1.0 / 1.25 / 1.5 / 1.75 / 2.0 seconds
- [Crucial Mechanic] E (Malefic Visions) Duration Full Refresh:
- If the target already has E applied, hitting them with the Q beam completely resets E's remaining duration to 4.0 seconds (full refresh).
- Due to its wide hit width, place it horizontally across choke points in teamfights to apply a 2.0-second silence to multiple enemy backliners, shutting down their counterattack and escape tools.
③ W: Void Swarm
- Stack Accumulation: Gain 1 stack every time you use another ability (Q, E, R) (up to 2 stacks).
- Summoning Mechanic: Summons 1 Voidling, with additional summons based on accumulated stacks (up to 3 total). Lasts for 8–10 seconds.
- Target Priority AI & Speed Boost:
- Prioritizes chasing enemies affected by E (Malefic Visions) or enemies suppressed by R (Nether Grasp).
- When moving toward targets, movement speed increases by +50\% \sim +100\% and attack speed increases by +100\%.
- Durability and Damage Vulnerability:
- Dies to a single basic attack, and evaporates instantly to champion AoE abilities.
- [Reactive Principle] Summon Voidlings immediately after enemies burn their AoE abilities (such as Ekko Q, Syndra Q, LeBlanc W, Cassiopeia Q) while they are on cooldown. Summoning W first will severely hurt both your farming and trades.
- Tower Agro Tanking:
- Under towers, the tower prioritizes Voidlings over your minions. You can use this to safely chip away at tower plating or split aggro during tower dives.
④ E: Malefic Visions
- Range: 650 / Cast Time: 0.25 seconds
- Duration: 4.0 seconds (deals damage every 0.25 seconds, 16 ticks total)
- Total Damage: 80 / 115 / 150 / 185 / 220 \; (+80\% \text{ AP})
- Kill Spread & Mana Restoration Mechanic:
- When a unit affected by E is killed, it automatically spreads to the nearest visible enemy unit (minion, champion, or monster).
- Upon target death, instantly restores 2% of Malzahar's maximum mana.
- Wave Control Core:
- Applying E to low-HP backline minions and backing it up with W allows the visions to spread from backline to frontline to enemy champions, enabling you to finish pushing automatically while keeping your mana fully restored.
⑤ R: Nether Grasp
- Range: 700 / Channel Duration: 2.5 seconds
- Crowd Control: Suppression:
- The target cannot use any movement, basic attacks, abilities, or summoner spells (Flash, Ignite, Teleport, Cleanse, etc. all blocked).
- Cannot be cleansed by the Cleanse summoner spell.
- Removal is limited to Quicksilver Sash (QSS), Olaf R, Gangplank W, Alistar R, Mikael's Blessing, etc.
- Direct Damage: 125 / 200 / 275 \; (+80\% \text{ AP}) (over-time damage across 2.5 seconds)
- Null Zone:
- Creates a zone under the target's feet for 5 seconds. Deals maximum HP percentage magic damage to all enemy units within the zone equal to $2.5 / 3.5 / 4.5\% \; (+0.5\% \text{ per } 100 \text{ AP})$ of the target's max HP per second.
- E Duration Full Refresh:
- Upon casting R, the duration of E currently on the target is immediately refreshed to 4.0 seconds.
- Self Root & Disruption Risk:
- Malzahar himself stays still in place to channel for 2.5 seconds.
- Getting hit by enemy hard CC (stun, knockup, silence) will instantly interrupt it, so cast it only after factoring in the positioning of enemy peelers and the status of your passive shield.
Practical Combos & Skill Rotation
① Guaranteed Kill Full Burst Combo
$\mathbf{E} \;\to\; \mathbf{W} \;\to\; \mathbf{R} \;\to\; (\text{Just before/after R ends}) \; \mathbf{Q}$
- Apply E to the enemy (4-second duration timer starts).
- Summon 2 to 3 Voidlings with W (they ultra-accelerate and charge the E target).
- Immediately lock them down with R (E resets to 4 seconds + Null Zone deploys + Voidling onslaught).
- Layer Q the exact moment the R channel ends (E resets to 4 seconds again, resulting in 10+ seconds of total DoT and a 2-second silence, securing the kill without allowing any counterplay).
② Under-Tower Defense (Anti-Dive Defensive R)
- The exact moment an enemy assassin (LeBlanc, Yone, Ekko, etc.) dashes into tower range (775 units), cast R directly without any hesitation.
- The tower detects the enemy champion, causing 2 to 3 tower shots to hit them point-blank during the 2.5-second lock duration (over 1000–1500 damage).
- Secure a solo kill or shutdown without giving the enemy any room to use Flash or escape abilities.
Challenger Macro Strategy & Build System
(1) 20-Minute 230 CS+ Insane Farming Engine
- Push & Jungle Absorption:
- After throwing E + W onto the caster minions, immediately move to Raptors or Wolves instead of lingering in lane.
- While the minion wave is automatically cleared by the E chain, drop E + W onto allied and enemy small camps to double-dip on CS and gold.
- Build a +70 to 80 CS lead over your laner by 20 minutes, effectively creating a one-item advantage.
(2) Latest OTP Meta Builds, Runes & Skill Order (Challenger Signature Builds & Runes)
Itemization
- Starting Items: Doran's Ring + 2 Health Potions
- First Core: Blackfire Torch
- *Reason for Choice:* Solves mana issues and maximizes DoT damage and Ability Haste (+25).
- *(Note: Malignancy is also an option when prioritizing burst and R cooldown.)*
- Second Core: Liandry's Torment
- *Reason for Choice:* Max HP percentage DoT damage stacks twice with E and the R Null Zone, instantly melting tanks and bruisers.
- Third Core: Rylai's Crystal Scepter *[Essential Core]*
- *Reason for Choice:* Enemies are permanently slowed by 30% during the E DoT, making it impossible to escape the Voidlings.
- Fourth Core and Beyond: Cryptbloom / Void Staff / Zhonya's Hourglass
- Boots: Ionian Boots of Lucidity or Sorcerer's Shoes.
Runes Setup
- Arcane Comet Setup (General Poke & Lane Dominance):
- Primary (Sorcery): Arcane Comet / Manaflow Band / Transcendence / Gathering Storm (or Scorch)
- Secondary (Inspiration): Magical Footwear / Cosmic Insight (or Biscuit Delivery)
- Shards: Adaptive (+9 AP) / Adaptive (+9 AP) / Scaling Health
- Summon Aery Setup (vs. Melee / Auto-Attack Harass):
- Primary (Sorcery): Summon Aery / Manaflow Band / Transcendence / Gathering Storm
- Secondary (Inspiration): Magical Footwear / Cosmic Insight
Skill Max Order
- Max Order: R > E > Q > W
- Level-by-Level Path:
- Lv 1: Q (Harrass & Manaflow Band activation) or E
- Lv 2: E
- Lv 3: W
- Lv 4-9: Max E (Automate wave clear & maximize damage)
- Lv 10-13: Max Q (Increase silence duration to a maximum of 2.0 seconds & boost E refresh power)
- Lv 14-18: Max W
Summoner Spells
- Flash + Teleport (For lane recovery and side split-pushing: Pick rate 94.3% [33/35 games]) or Flash + Ignite (For kill pressure: Pick rate 5.7% [2/35 games]).
Recent 3 Months (2026), Official Riot API Raw Logs (35 Games) & Latest Videos (18), Voice Tactical System (マルチャレ: 준이는곧휴가철#KR123)
① Official Riot API Match-v5 / Timeline-v5 Raw Logs (35 Games) Statistical Summary
- Target Data: knowledge/malzahar/matches/*.json & knowledge/malzahar/timelines/*_timeline.json (MID Malzahar pure 35 games, Win Rate 54.3% [19W 16L])
- 2026 Season Latest Core Item Pick Rates:
- `3116` Rylai's Crystal Scepter: 32 / 35 games (91.4%) — Absolute core essential as a 2nd item (or immediately after 1st item). Applies a permanent 30% slow to E and W, enabling Voidling chases and kiting.
- `3171` Crimson Lucidity (Tier 3 Upgraded Ionian Boots): 31 / 35 games (88.6%) — Tier 3 upgraded boots via MID lane quest completion. Maximizes ability haste and summoner spell cooldown rotation (Flash + R attempts).
- First Core Item Polarization (50/50 Split):
- `2503` Blackfire Torch: 18 / 35 games (51.4%) — Chosen against melees, fighters, and tanks (Yone, Talon, Diana, Cho'Gath, Vladimir, Zoe, etc.) when prioritizing sustained DoT and multi-burn in teamfights.
- `6655` Luden's Companion: 17 / 35 games (48.6%) — Chosen against assassins and mages (Katarina, Twisted Fate, Syndra, Lux, Lissandra, etc.) when prioritizing "instant wave clear" and "shield popping / single-rotation burst assistance."
- `3157` Zhonya's Hourglass: 15 / 35 games (42.9%) — Essential 3rd item pickup against Yone (3/3 games 100%), Zoe (2/2 games 100%), Diana, Talon, Zed, etc., to nullify all-ins.
- `1082` Dark Seal: 12 / 35 games (34.3%) — High-efficiency snowball investment for 350G on 1st–2nd recalls.
- `3137` Cryptbloom: 9 / 35 games (25.7%) / `3916` Oblivion Orb: 5 / 35 games (14.3%) (against healing-heavy picks like Vladimir, Yone, Sylas).
- Rune Selection Statistics (35 Games):
- Main Keystone:
- `8229` Arcane Comet: 19 / 35 games (54.3%) (Secondary Inspiration 14 games / Secondary Precision 5 games)
- `8992` Deathfire Touch: 16 / 35 games (45.7%) (Secondary Inspiration 9 games / Secondary Precision 7 games — DoT keystone returned to Sorcery tree in Patch 26.9)
- Secondary Tree Discipline:
- `8300` Inspiration (Magical Footwear + Cosmic Insight/Biscuits): 23 / 35 games (65.7%) — Standard setup. Prioritizes 300G savings and Flash CDR.
- `8000` Precision (Presence of Mind + Cut Down / Legend: Haste): 12 / 35 games (34.3%) — Used vs. Yone (3/3 games 100% pick rate), Diana, Cho'Gath, Smolder, etc. Prevents mana starvation in side lanes and extended fights via Presence of Mind, while shredding high-HP targets with Cut Down.
- `8400` Resolve (Bone Plating): Specialized counter against Ekko, etc. (video HJ62m7jLAxc) to nullify early E-Q-AA Electrocute trades.
② Challenger Voice Commentary Matchup Micro & Macro Absolute Disciplines
- vs. Yone — `[Secondary Precision 100% / 100% Win Rate (3W 0L) / 2iLl3Q4mFeA, CMlDsOjhddc]`:
- Build & Runes: Aery/Comet + Secondary Precision (Presence of Mind, Cut Down), rush Blackfire Torch -> Rylai's -> Zhonya's Hourglass (100%).
- Lane Discipline: Always mind the dash range of Yone's E (Soul Unbound) + Q3 (knockup). Only step up aggressively for AA + E when your passive shield is up. Do not fight Yone the moment he dashes forward with his E; instead, place a Q silence on his snap-back return location or his main body to end the trade unilaterally.
- 20-Minute 230 CS Farming Technique: From the mid-game onward, use E+W to automatically clear waves while taking Raptors or Wolves without waiting for the wave to clear completely. Deny Yone 1v1 opportunities in side lanes and overwhelm him with item advantages.
- vs. Kassadin — `[Rigorous Pre-Lv6 Harass and Roam Denial / naQ8U9o2XwQ]`:
- Lane Discipline: Kassadin is at his weakest from Lv 1–5, but Malzahar also runs out of mana easily. Target the exact moments Kassadin uses Q on minions to relentlessly punish him with auto-attacks (AAs) and E.
- Post-Lv6 Discipline: The moment Kassadin flies forward with R (Riftwalk), instantly drop E+W+Q silence. When your Jungler is nearby, immediately lock him down with R to prevent escape.
- vs. Katarina, Talon & Lux — `[Priority on Push and Ping Management / wipKIn-6u0Q, gbOQhpcYOKU, FaEDv6HFgiY]`:
- Build: Build Luden's Companion against Katarina and Lux to enhance instant wave-clear and shield-popping.
- Lane Discipline: The most dangerous scenarios in assassin matchups are "all-ins while Malzahar's passive is down" and "losing push and getting roamed on for bot lane." The moment the enemy uses AoE skills on minions (Katarina Q/W, Talon W), spawn W (Voidlings) to push back. The second the enemy disappears from vision, immediately ping danger for your side lanes. Counter Katarina's R (Death Lotus) immediately with a Q silence or R interruption.
- vs. Syndra, Twisted Fate & Taliyah — `[Strictly Delayed Voidlings / WEoJsmDy2mI, Oa0Is7YslXQ]`:
- Build: Luden's Companion -> Rylai's (100% pick rate in official logs vs. TF and Syndra).
- Lane Discipline: If you cast W (Voidlings) first while Syndra's Q/W or Taliyah's Q/E are still up, your bugs will be instantly wiped out, costing you both push priority and mana. Always deploy E+W the "instant" (during cooldown) after the enemy uses their main wave-clear ability.
- vs. Vladimir — `[Movement Speed Shards + Rylai's + Grievous Wounds / oXZuy15KZJA]`:
- Build & Runes: Movement speed (MS) conscious positioning, early completion of Oblivion Orb (Grievous Wounds) + Rylai's Crystal Scepter.
- Lane Discipline: Never step into range when Vladimir's empowered Q (red gauge) is charged up. Casting R before forcing his W (Sanguine Pool) will result in it being negated; instead, poke him down with E+W+Q silence to force out the pool, or chain R immediately during the Q silence to execute him before the pool activates.
- vs. Ekko & Diana — `[Bone Plating / Precision + Resistance Management / HJ62m7jLAxc, 6oZr64FvKqI]`:
- Runes: Against Ekko, run Secondary Resolve (Bone Plating) to completely neutralize his Lv 2–3 E+Q+AA 3-hit passive burst. Against Diana, run Secondary Precision to secure mana and sustained damage.
- Lane Discipline: Dodge Diana's Q (Crescent Strike) or Ekko's Q, and maintain the wave in the center or on your side while keeping your passive (Void Shift) intact. The moment the enemy tries to force a tower dive, use R (Nether Grasp) to let tower shots hit them 2–3 times for a turn-around kill.
- 4v5 / Team Collapse Comeback Macro (Mental & Comeback Protocol — `bOyq08HcFLE`):
- Even in games where teammates collapse early or you are at a headcount disadvantage (4v5), Malzahar possesses the "ability to defend towers securely via E+W safe wave-clear" and the "ability to completely shut down a fed enemy carry (with a bounty) for 2.5 seconds using R suppression."
- The further behind you are, the less you should step out into unwarded river areas. Do not miss minion XP and gold in mid and side lanes, complete your 2-core item spike of Rylai's + Torch/Luden's, and secure a 1000G shutdown by pairing Flash + R (or peel R) on the enemy's most fed target.
Compare your recent Malzahar match against マルチャレ (malzaharchallenger)'s Challenger telemetry
Enter your Riot ID below. Our AI extracts your 1-minute Riot Timeline coordinates, identifies critical death incidents, and prescribes exact fixes.
Knowledge Freshness & Community Feedback (Malzahar)
Keep our OTP database fresh! Report outdated mechanics or submit cutting-edge specialist combos.
Community Freshness Feed
Submit the first report to help maintain this OTP doctrine's freshness.